How to Install an Air Conditioner
**How to Install an Air Conditioner: A Step-by-Step Guide**
Installing an air conditioner (AC) correctly is essential for ensuring efficient cooling and long-term performance. Whether you’re setting up a window AC, split AC, or a central unit, following the right process helps prevent leaks, overheating, and poor airflow. Here’s a guide to AC installation.
### **Step 1: Choose the Right AC Unit**
Before installation, make sure your AC unit is suitable for the space:
- **Capacity:** Check BTU (British Thermal Unit) ratings to match your room size.
- **Type:** Decide between window AC, split AC, or central AC based on your needs.
- **Energy Efficiency:** Opt for models with a higher star rating to reduce electricity costs.
### **Step 2: Gather Tools and Materials**
You’ll need:
- Drill machine
- Mounting brackets
- Measuring tape
- Level tool
- Insulation materials
- Screwdrivers and wrenches
- Electrical wiring kit
### **Step 3: Install the AC Unit**
#### **For Window AC:**
1. **Choose a Proper Window:** Ensure the window can support the unit’s weight.
2. **Prepare the Window Frame:** Seal gaps to prevent air leaks.
3. **Mount the AC:** Secure the unit in place using brackets.
4. **Plug It In:** Use a dedicated outlet to avoid electrical issues.
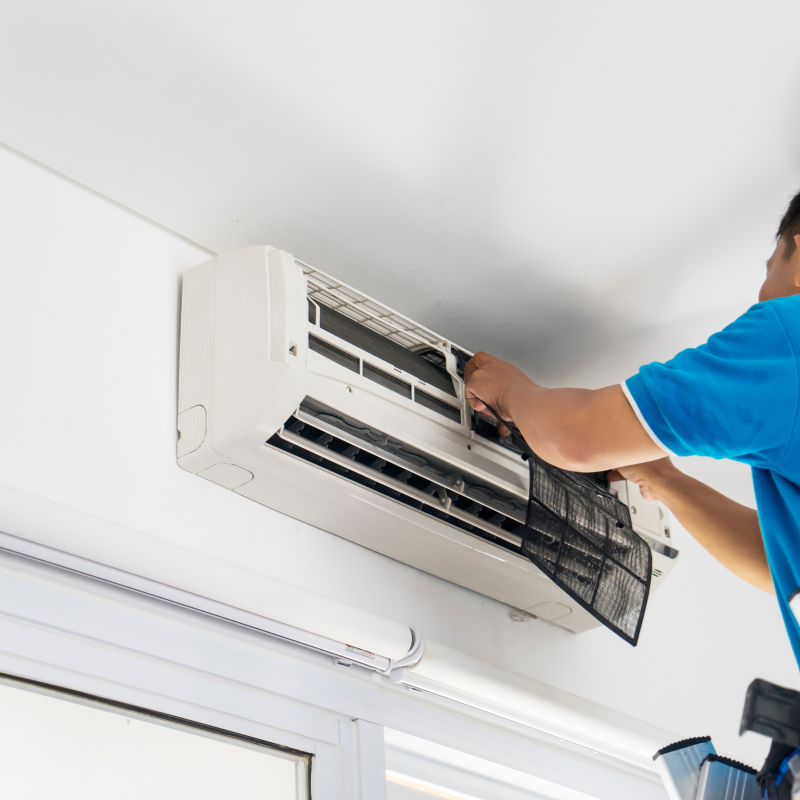
#### **For Split AC:**
1. **Install the Indoor Unit:**
- Choose a wall with proper ventilation.
- Use a drill to create holes for mounting brackets.
- Attach the indoor unit securely.
2. **Install the Outdoor Unit:**
- Place it on a stable surface with good airflow.
- Ensure proper distance from walls and obstructions.
- Connect refrigerant lines and electrical wiring.
3. **Connect Drain Pipe and Refrigerant Lines:**
- Ensure proper sealing to avoid leaks.
- Test for any air leaks before turning it on.
#### **For Central AC:**
1. **Set Up the Condenser Unit Outside:** Place it on a stable foundation.
2. **Install the Ductwork:** Ensure proper insulation and airflow.
3. **Connect the Thermostat:** Wire it correctly for temperature control.
4. **Turn on the System and Test:** Make adjustments if needed.
### **Step 4: Final Checks**
- Ensure **proper insulation** around pipes.
- Confirm **stable mounting** and no loose connections.
- Test airflow and cooling **before regular use**.
### **Final Thoughts**
Installing an AC can be complex, especially for split and central units. If you’re unsure about wiring or refrigerant lines, hiring a professional technician is a safer option. Proper installation ensures better efficiency, lower electricity bills, and long-lasting performance.
Are you planning to install an AC soon? Let me know if you need more help!